Protect your laptop or tablet in style with a DIY Laptop Sleeve! Our free Core Laptop Sleeve pattern is perfect for creating a snug and stylish sanctuary for your device. From start to finish, we'll walk you through the step-by-step process of constructing the Core Laptop Sleeve. If you prefer to learn from videos, we've also included a sew-along video at the bottom of this post for you to follow along with.
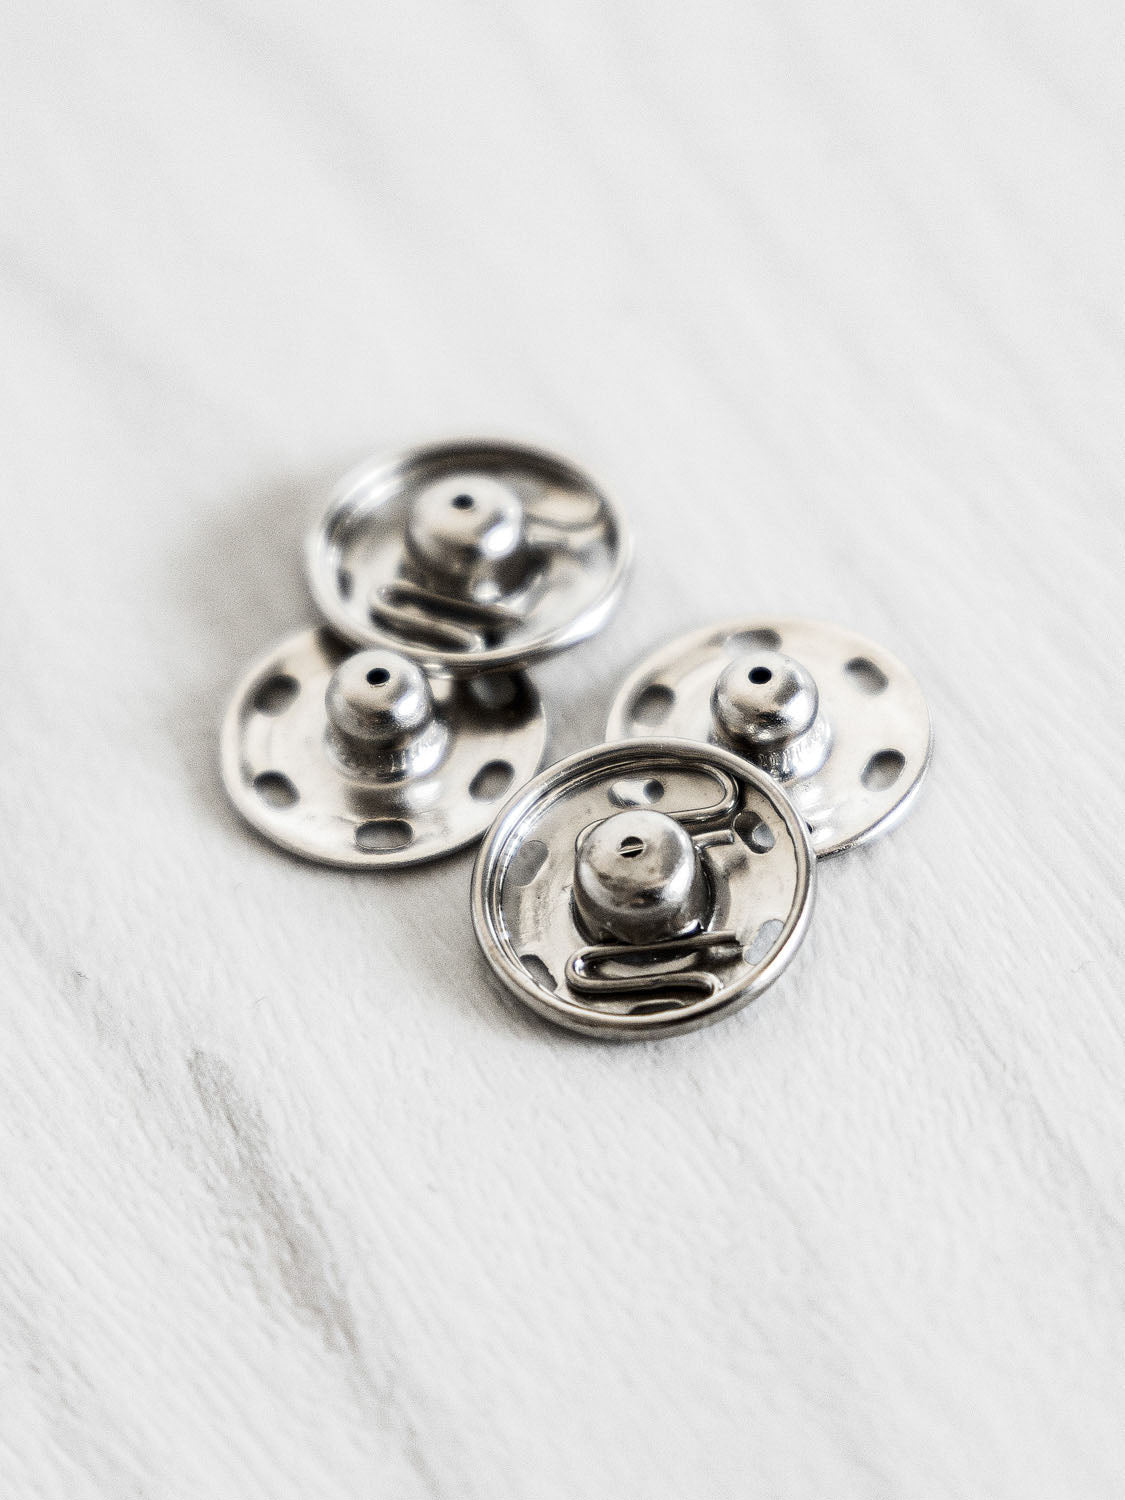
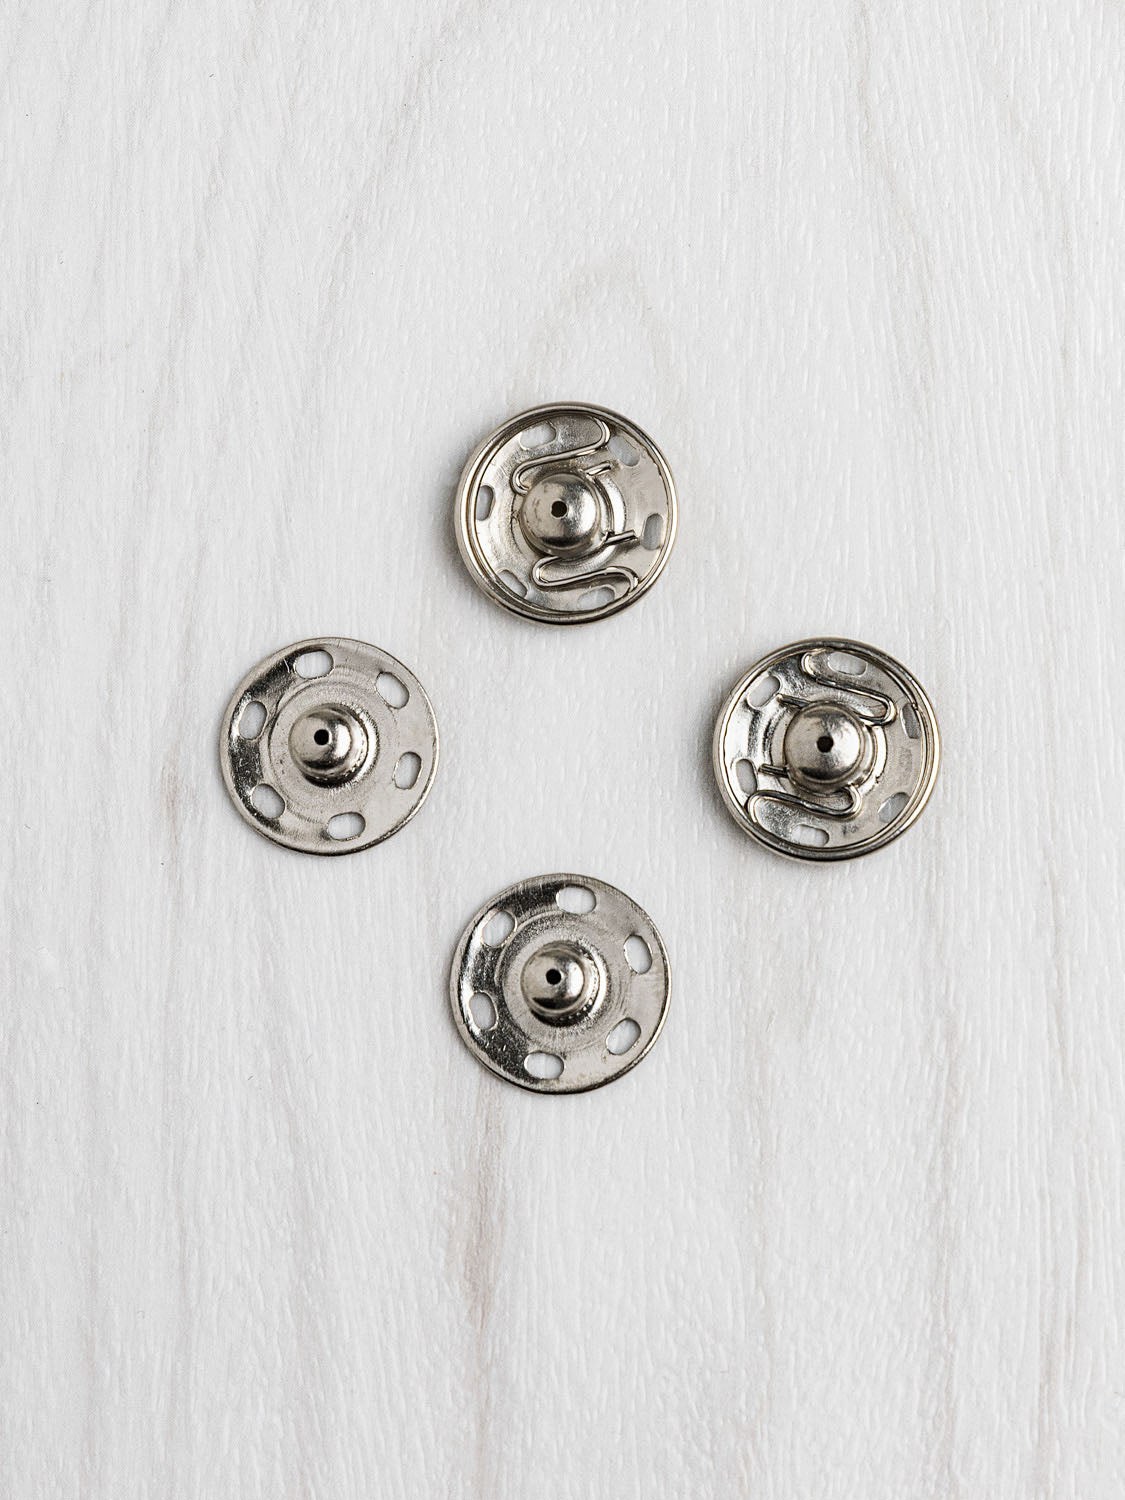
Designed to work for a wide range of woven fabrics, this pattern comes in two sizes. The small size is suitable for a 13"/14" laptop or tablet, while the large size is perfect for a 16" device. It has a convenient front pocket that can hold a charger, phone, or small notebook. The sleeve features a flap closure, which can be fastened with a button, loop closure, or sew-on snap for added security.
The small sleeve requires less than half a yard of fabric, so it's a great scrap-busting project that offers a chance to coordinate with your handmade wardrobe. It also makes for an adorable and personalized gift!
Follow our tutorial to create a stylish and functional laptop sleeve.
Download the Free Pattern:
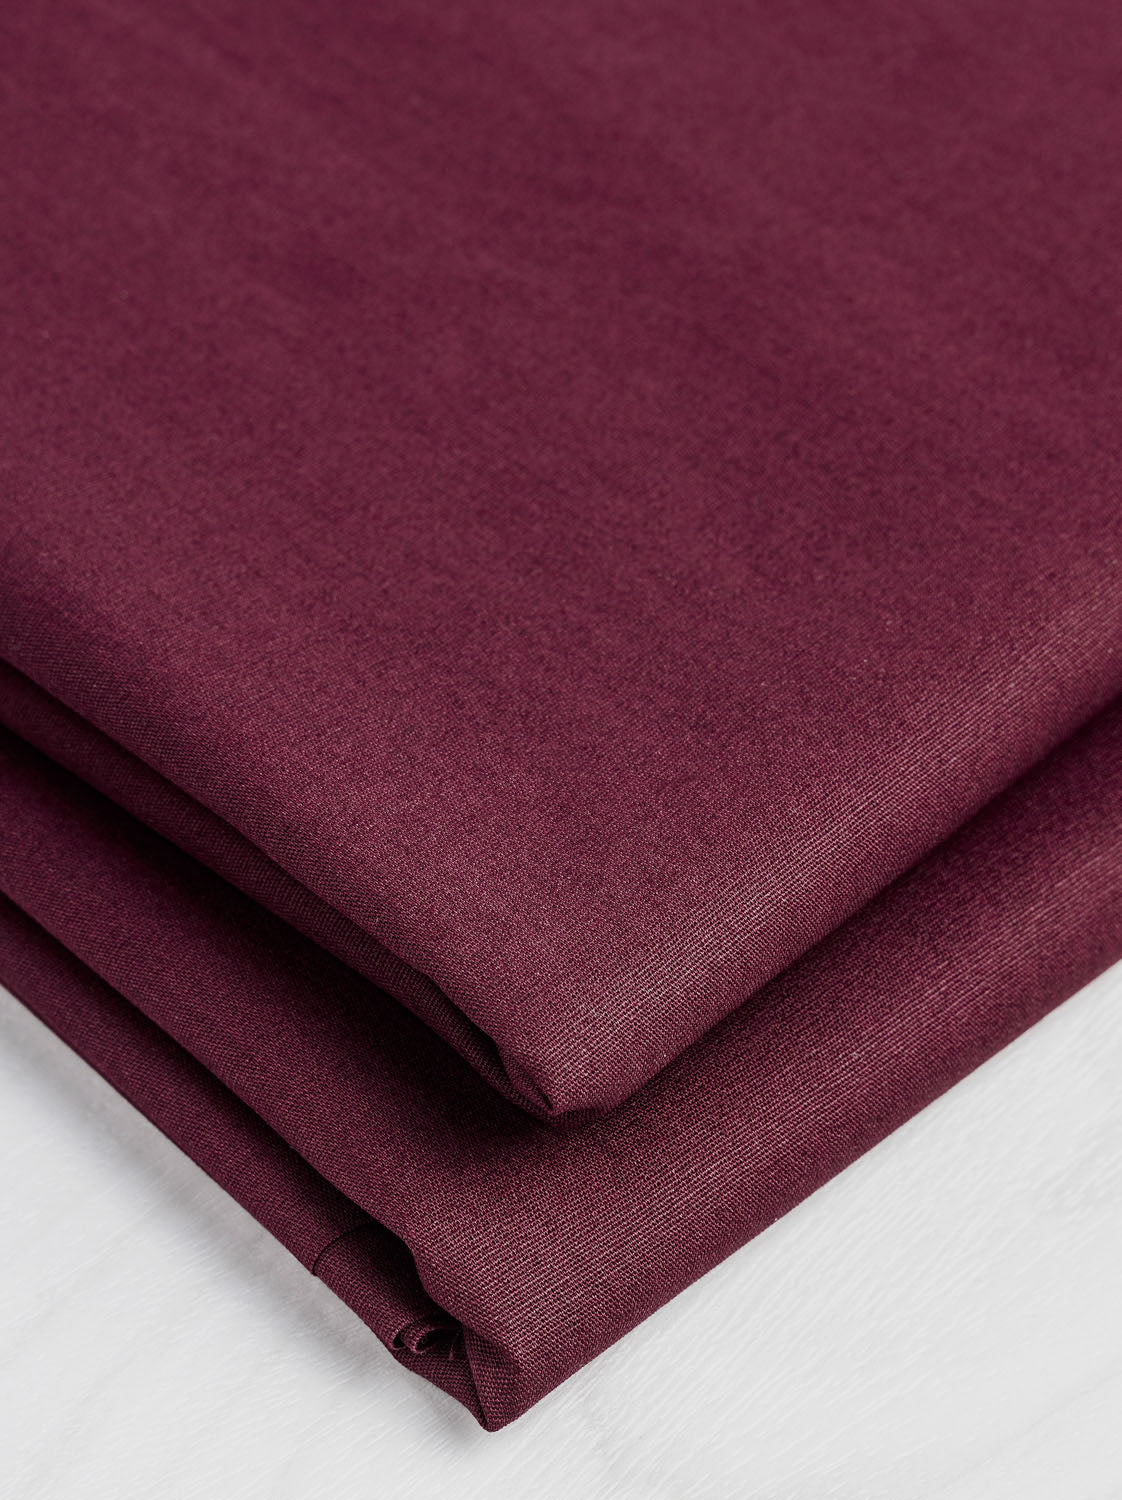
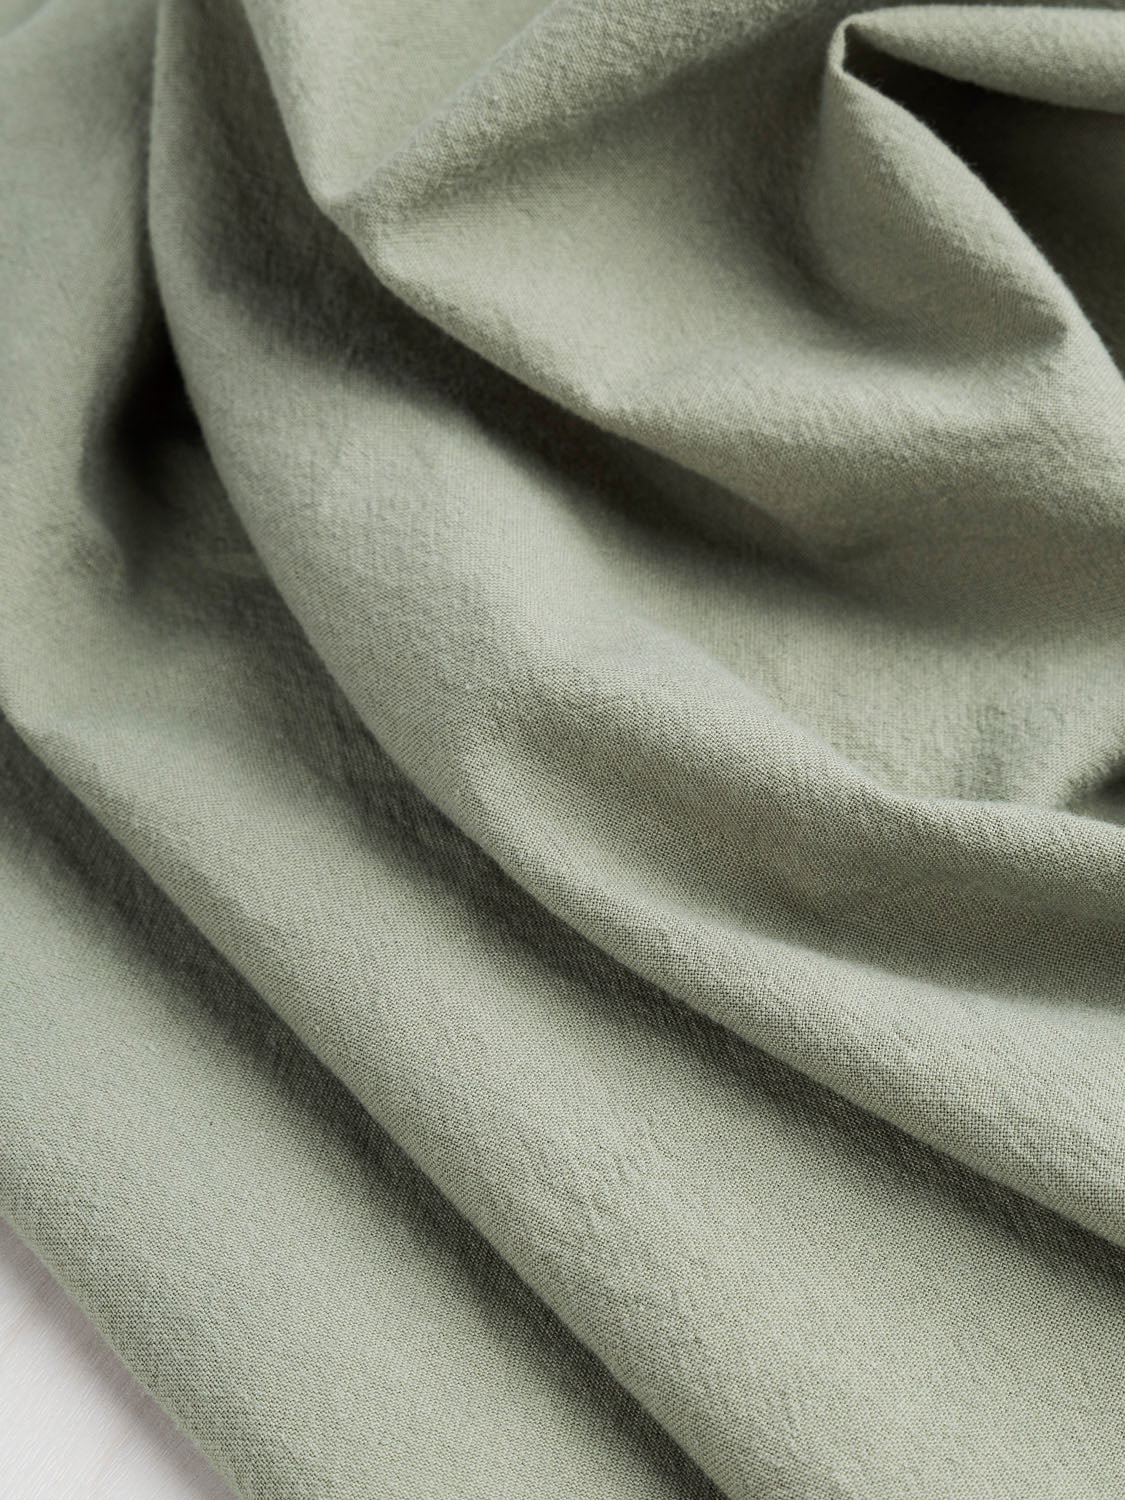
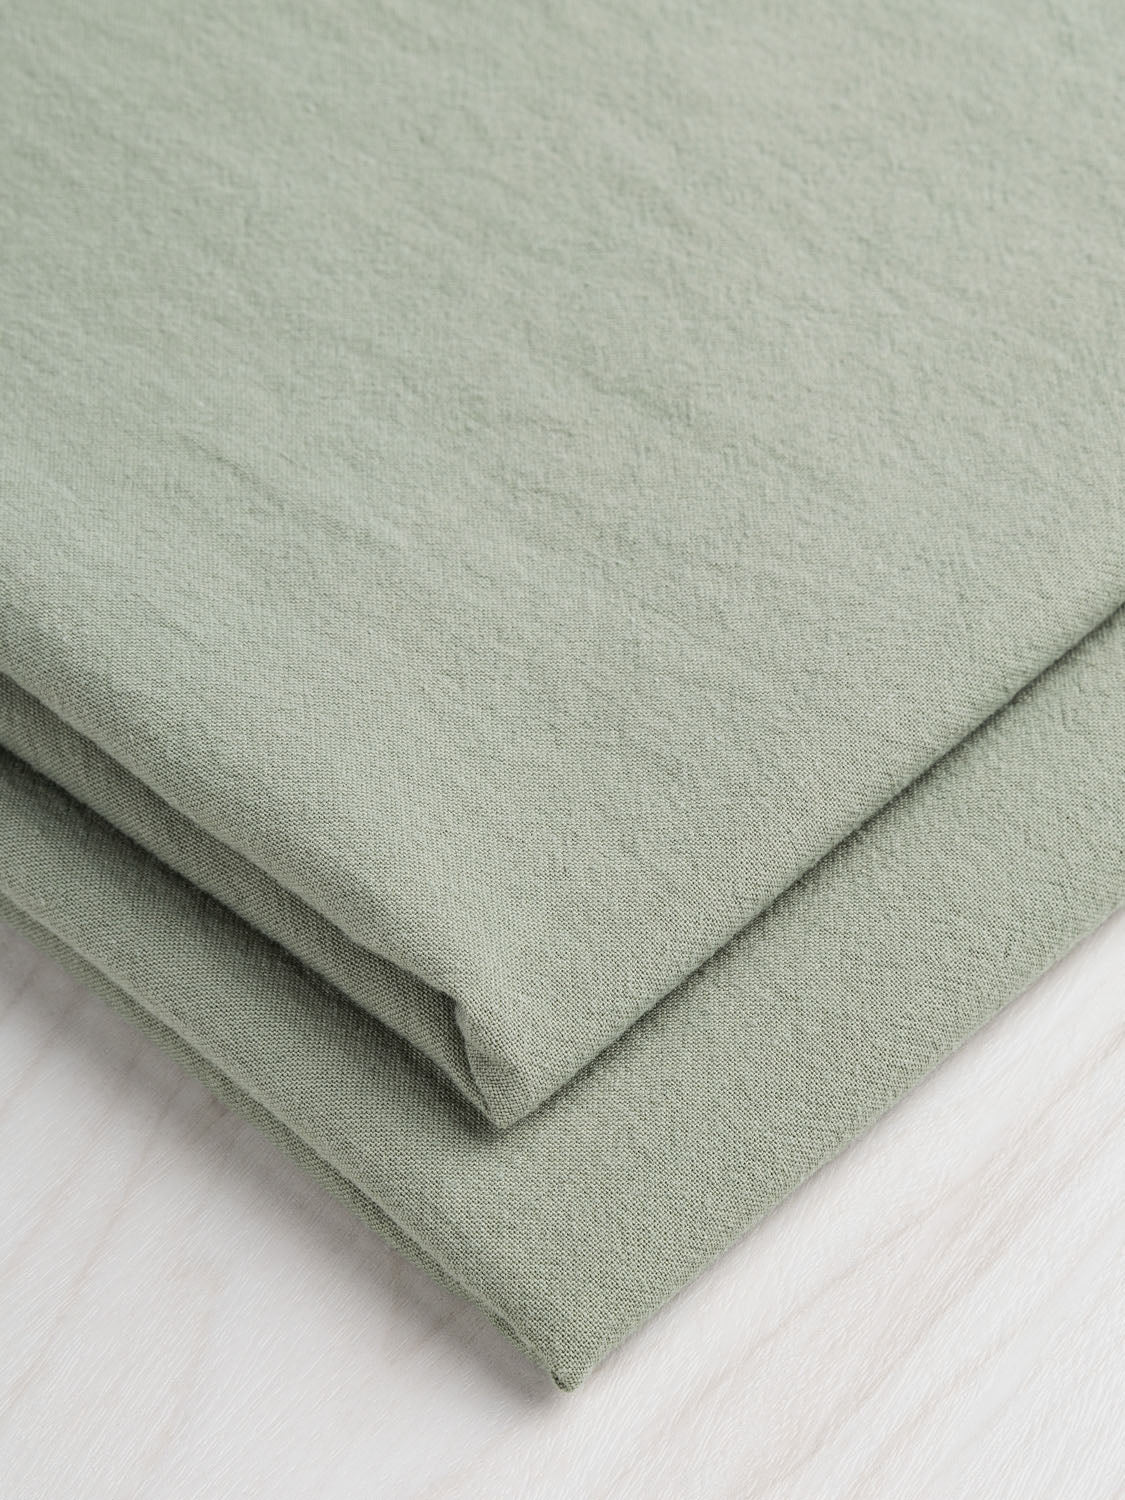
Fabric Choices for Your Laptop Sleeve:
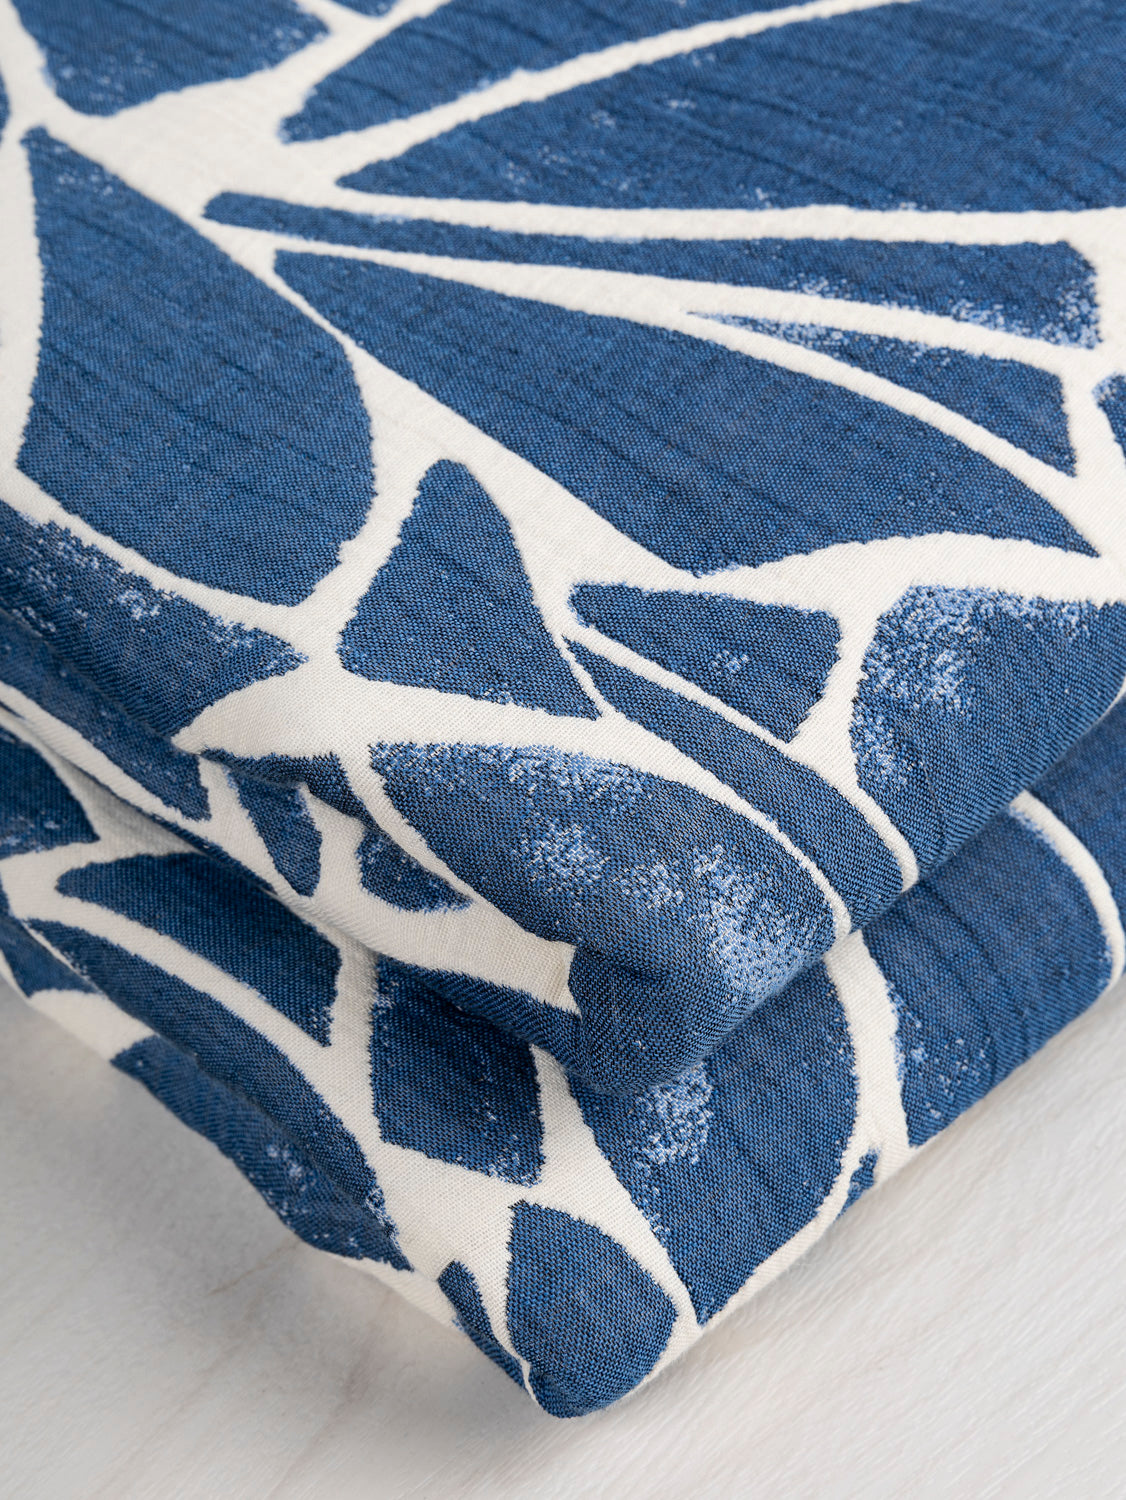
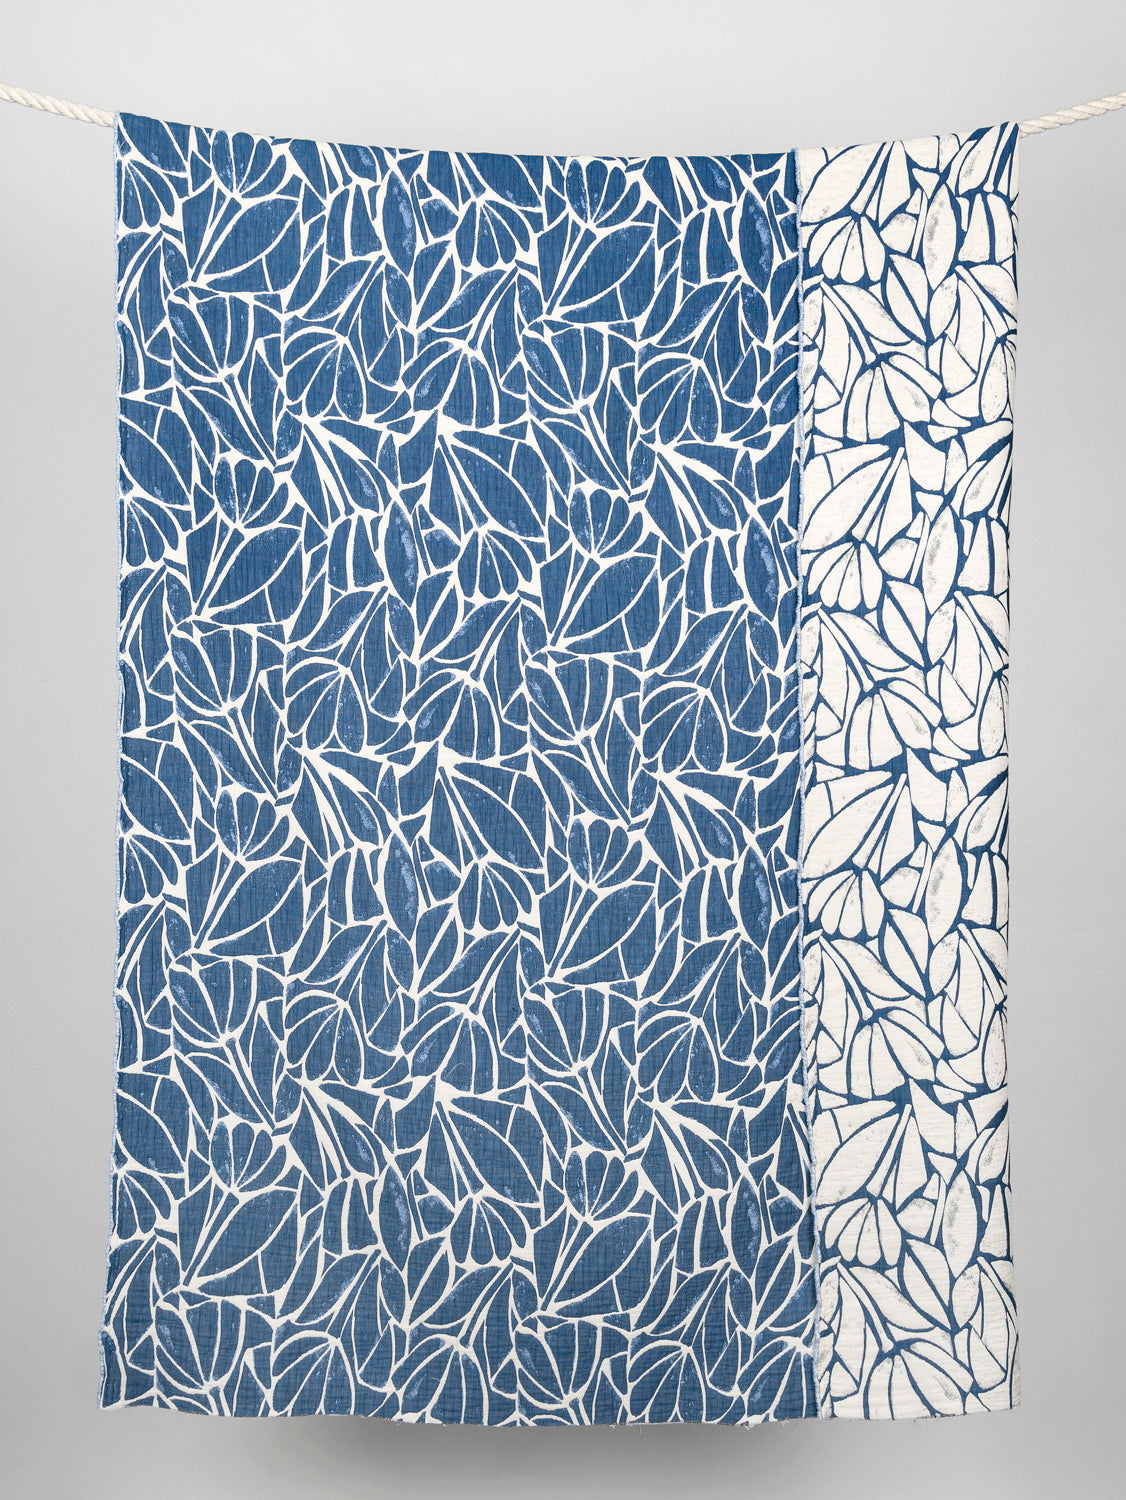
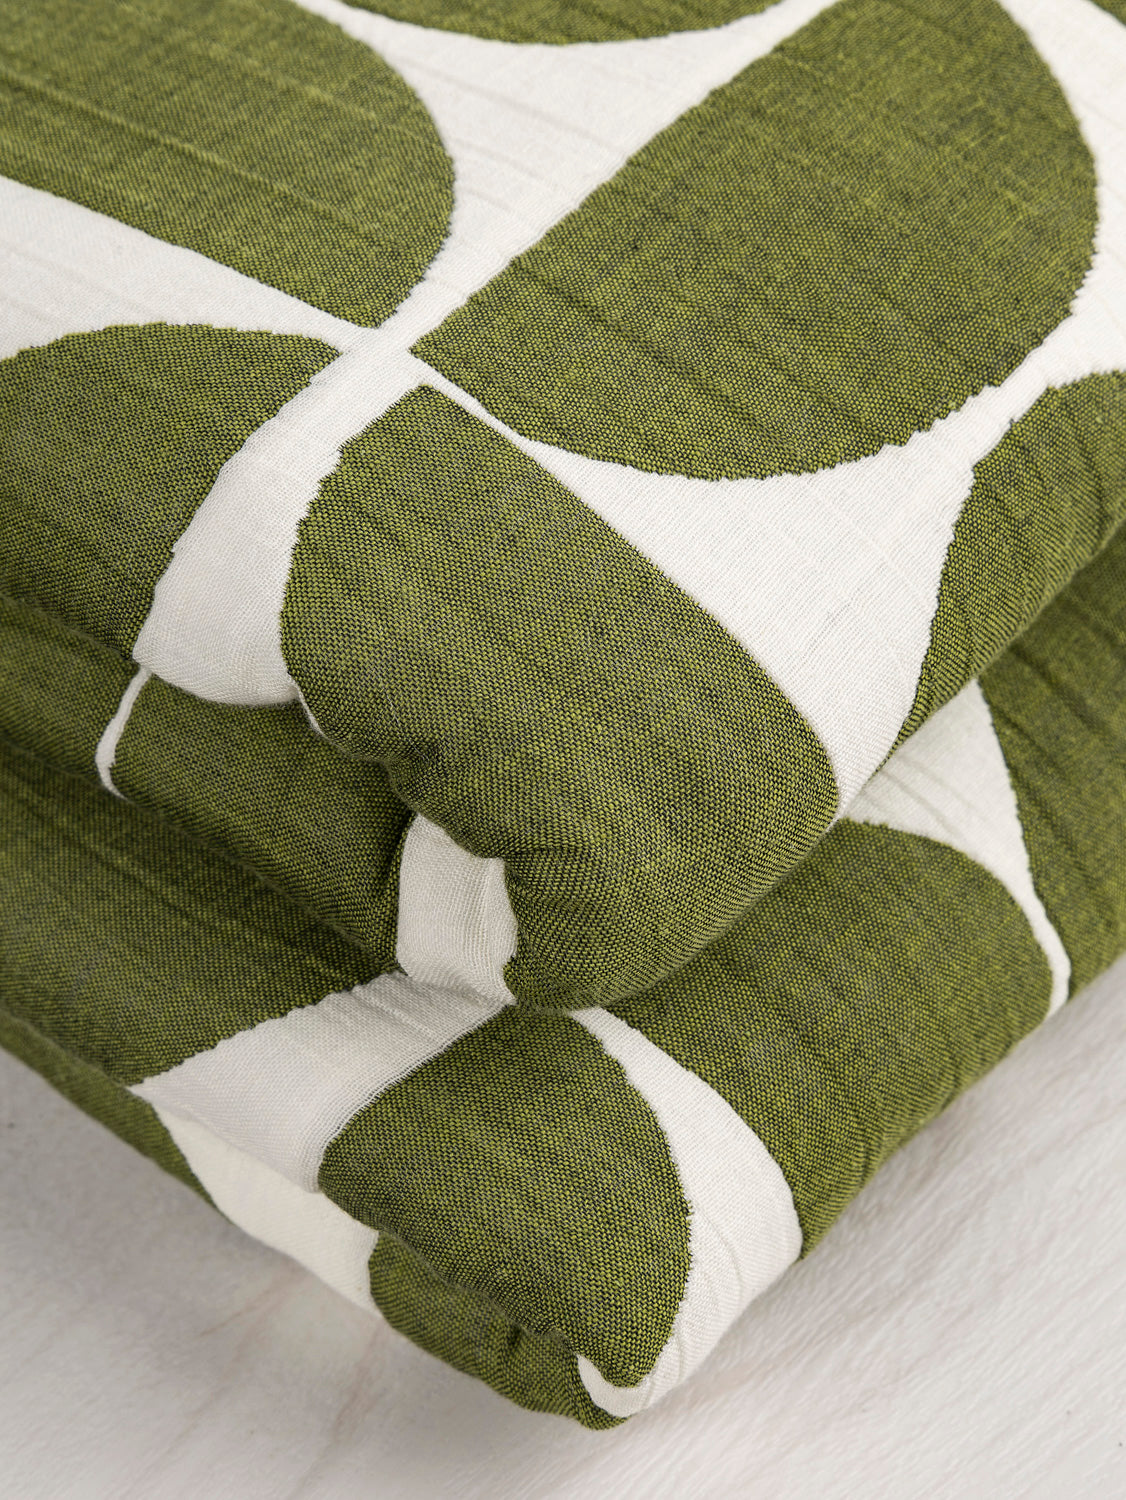
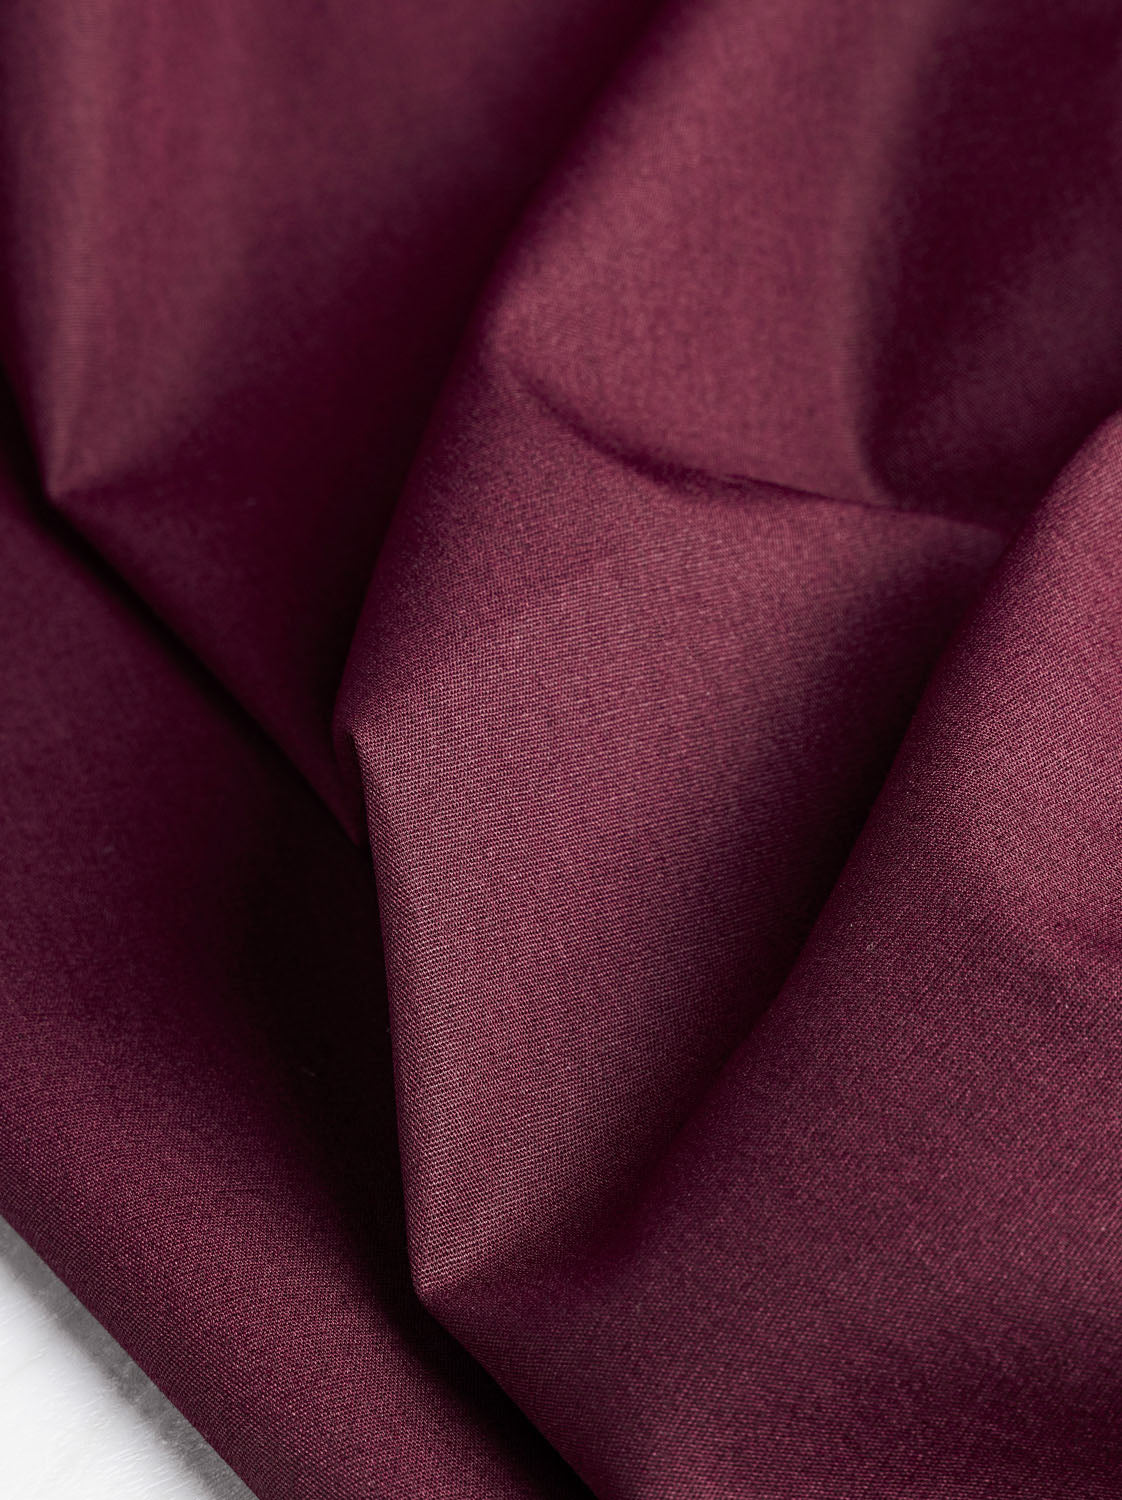
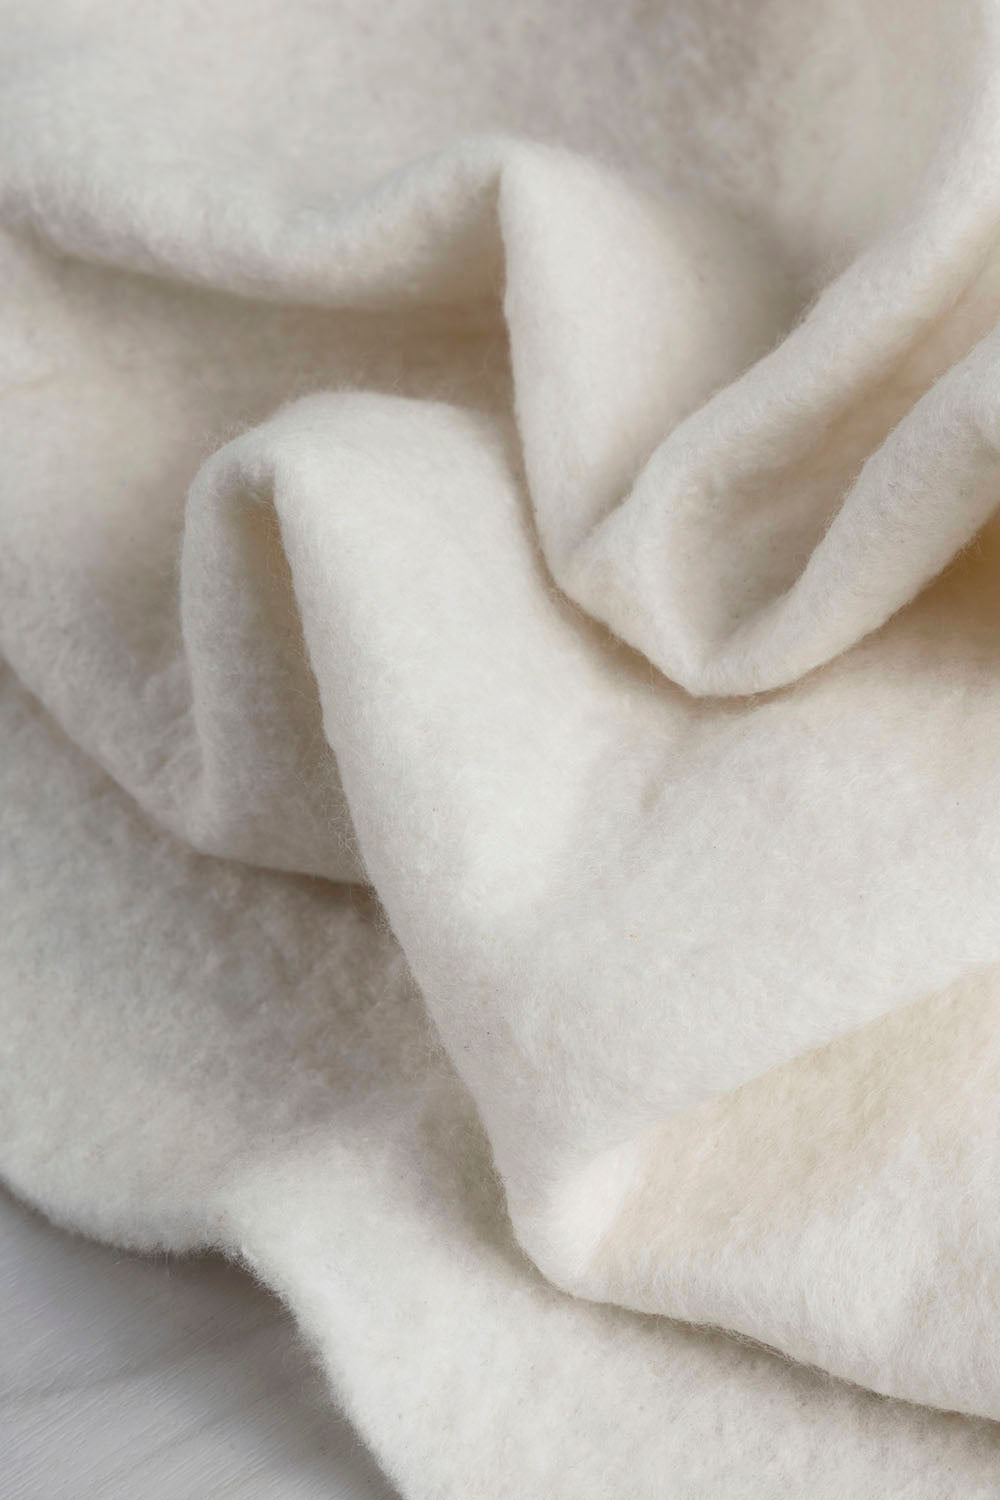
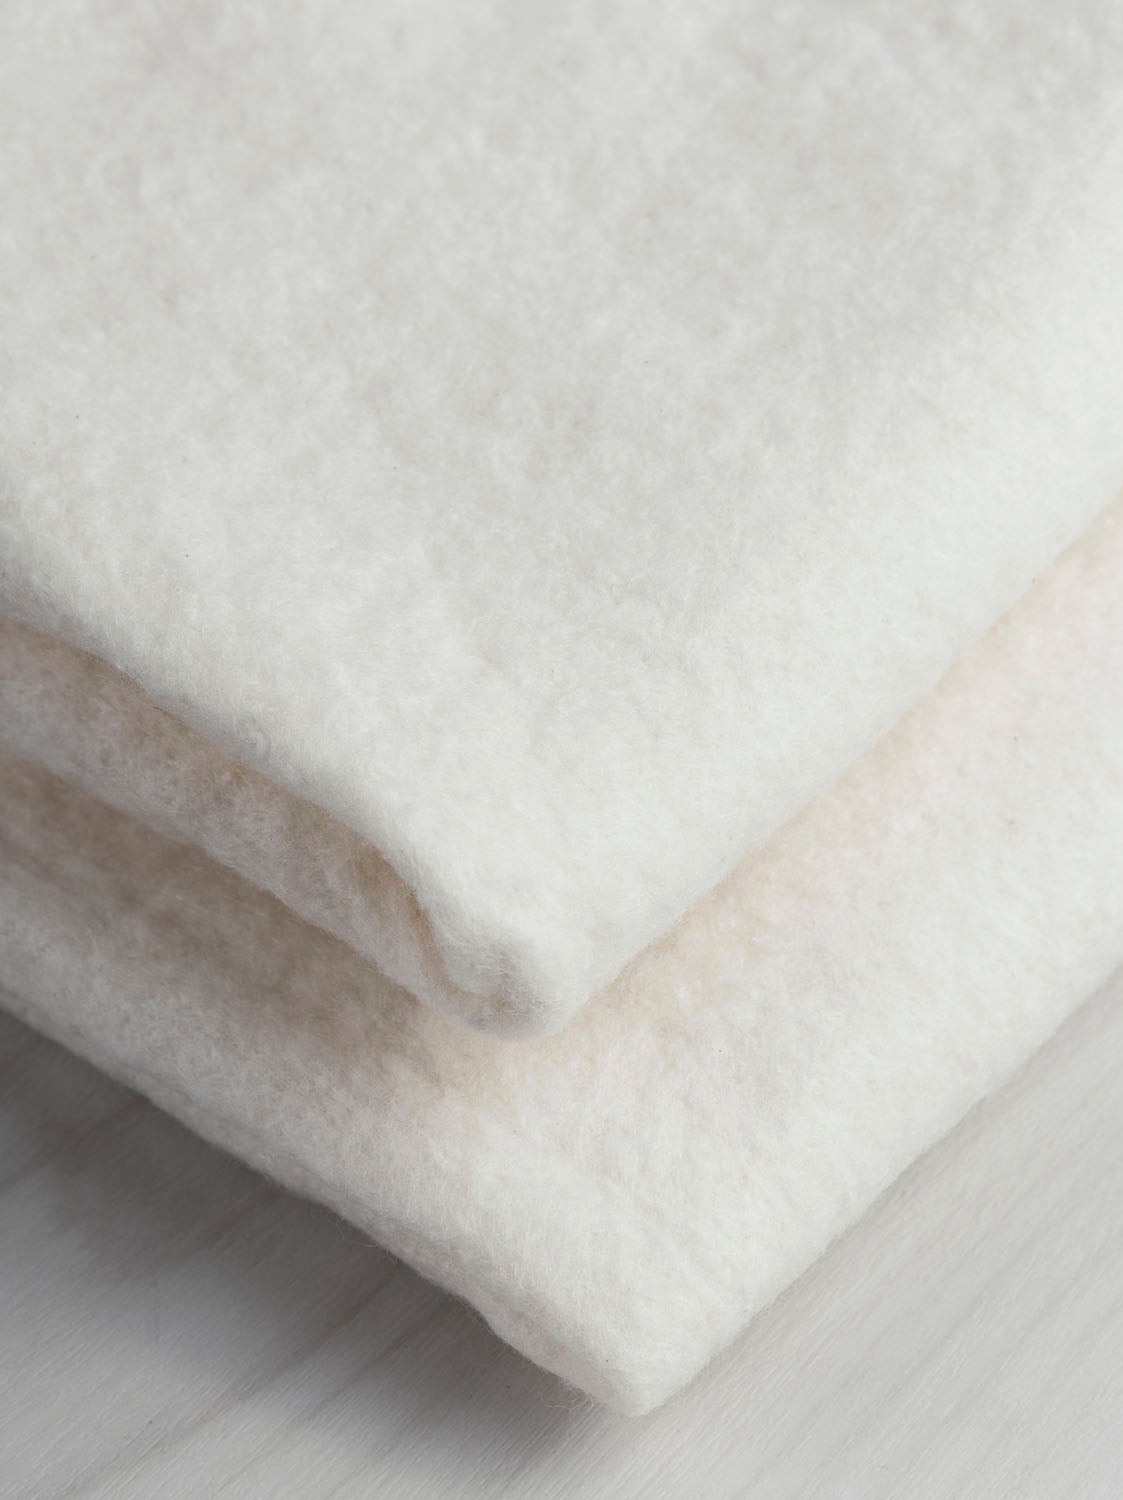
The Core Laptop Sleeve can be made using any stable woven fabric like cotton or linen. Depending on the fabric you choose, your sleeve can be a soft shell or a more structured case. If you want a puffy sleeve, you can quilt your fabric and add batting. If you don't want to quilt, you can use our reversible quilted jacquard.
Choose the Right Batting: Opt for batting that matches the desired thickness of your laptop sleeve. Varieties like cotton, wool, and bamboo, such as our Nature-fil Bamboo Cotton Batting, offer different textures and thickness levels.
Smooth Layers: Smooth out each layer (quilt top, batting, and backing) to eliminate wrinkles. Secure them in place with basting (pin or glue) to prevent shifting during the sewing process.
Choose your Quilting Design: Consider exploring various quilting designs. Dive into resources like this book featuring over forty walking-foot-friendly designs or browse online for free design ideas. Experiment with different designs on a small quilt sandwich to boost confidence before the final project.
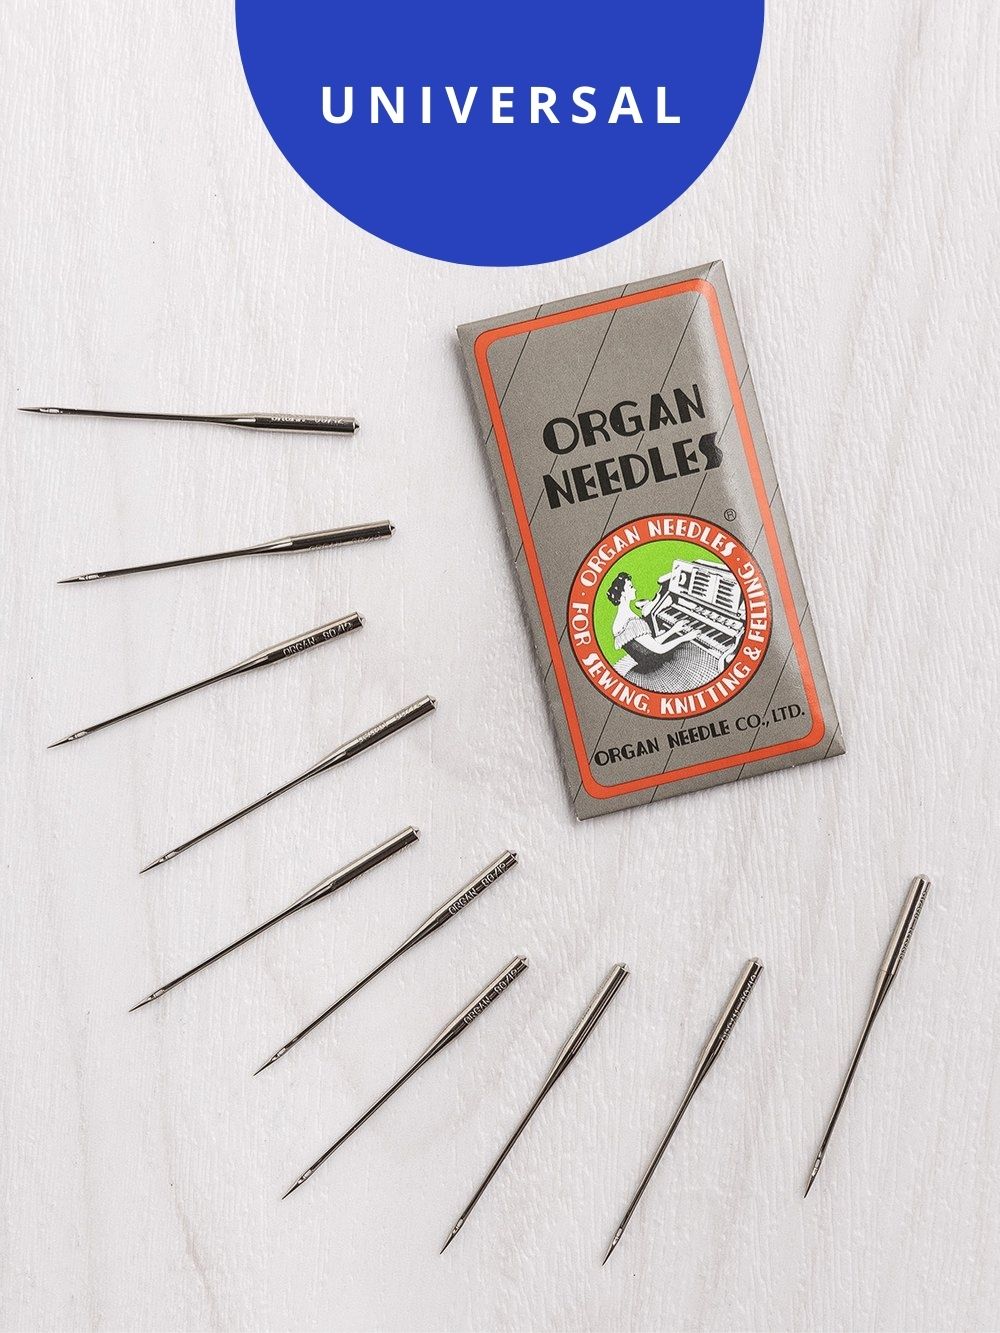
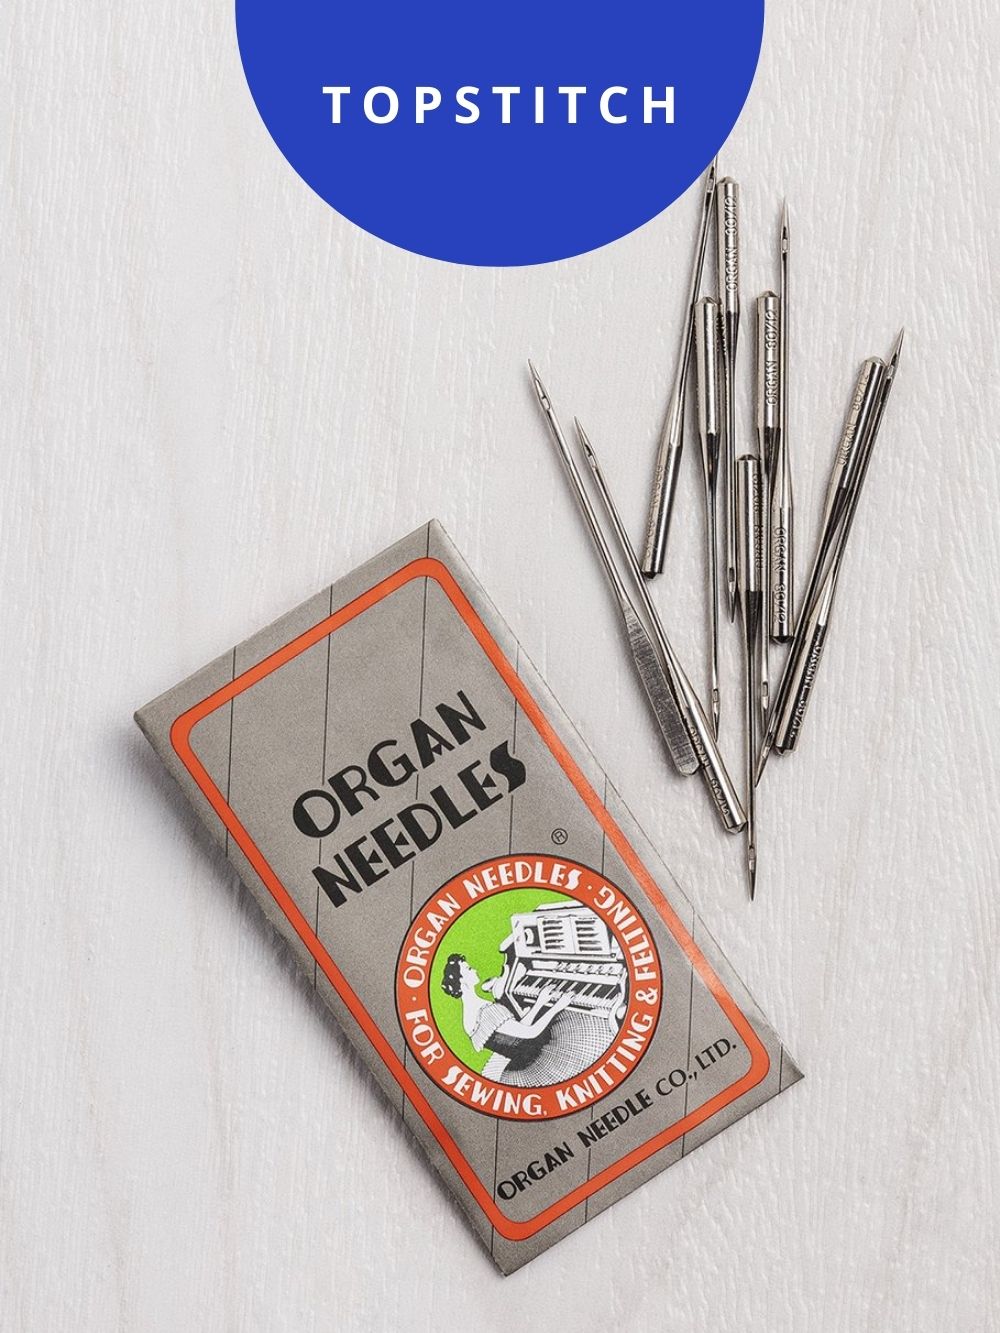
Needle Matters: Select a quilting needle suited to your fabric and batting. Quilting needles, with their tapered points, make piercing multiple layers easier. If using thicker thread, a topstitching needle would also serve the purpose.
Adjust Tension and Stitch Length: Test your machine's tension on a scrap piece prior to quilting. Proper tension ensures balanced stitches. Regularly check and adjust tension as needed throughout the quilting process to avoid inconsistent stitches.
Thread Quality is Essential: Invest in quality threads that complement your fabric and are less prone to breakage during quilting. Consider Güttermann Cotton 12-wt thread or Topstitching thread for the top and a high-quality 40-60 wt thread like our Gütermann All Purpose rPET Recycled Thread for the bobbin case, ensuring a durable and well-crafted final product.
How to Sew the Core Laptop Sleeve
If you prefer following along by video, we have filmed the entire process! Otherwise follow along with our step-by-step instructions below.
Step 1: Gather Your Tools
First things first, gather all your materials and the provided pattern pieces. Note that all seam allowances are 5/8" (16mm) unless otherwise specified.
Step 2: Cut and Transfer Marks
Using the pattern pieces, carefully cut your fabric and transfer all construction marks and notches onto the fabric. Precision is key for a polished result!
Step 3: Prepare Front, Pocket, and Gusset Pieces
Front and Pocket Pieces: Press the top raw edge of the front piece hem under by 1/2", then press again at the notches.
Topstitch the hem in place from the right side, ensuring you catch the folded seam in your stitch line.
Repeat the steps for the pocket piece. Then, sew the wrong side of the pocket piece to the right side of the front piece within the seam allowance.
Gusset Piece: Press the raw edge of the two short sides of the gusset piece under by 1/2", and then press again at the notches.
Then topstitch the hem in place from the right side.
Step 4: Assemble Back and Gusset Pieces
With the right sides together, align the finished edges of the gusset to the notches of the back piece. Sew the gusset to the back piece.
Finish the exposed edges with bias tape.
Starting at the bottom centre, make your way up and around the flap, then down to the gusset ensuring a continuous application until you reach the initial bottom centre point.
Notes on bias tape: Choose your preferred method for attaching bias tape. Since the bias tape will be visible on both sides of the flap area, we recommend a two-pass sewing approach for better control and a neat finish on both sides.
How to sew bias tape in two passes: Start by aligning the raw edge of the tape with the raw edge of the fabric and securing it in place with pins or clips. Stitch along the first fold to hold the tape in place. Next, wrap the bias around the raw edge, like a "quilt sandwich", and secure it with pins or clips from the other side. If the tape is not lying flat, trim the seam allowance to make it wrap around the edge smoothly. Once the tape is wrapped evenly around the seam, topstitch it in place 1/8" away from the folded edge to secure it.
How to start and finish sewing your bias tape in one continuous loop:When you begin sewing the bias tape in place, leave the first 1/2" of tape free. As you return to where you started, fold the beginning edge of the tape in at a 45-degree angle. Extend the remaining bit of bias over this fold, extending past by at least 1/2". Sew in place to secure.
How to sew corners with bias tape:When you reach a corner, use a marking tool to mark 1/2 inch from the edge (or 3/8 inch if you're using 3/8 inch wide tape). Sew the bias tape in place along the edge of the fabric, stopping at the marked point. Backstitch to secure. Next, fold the bias tape up at a 45-degree angle so that the edge of the bias tape aligns with the edge of the fabric. Then, fold the bias tape down again so that the folded edge aligns with the top edge of the fabric. Use pins to secure the bias tape in place. Sew your next pass of stitching starting at the folded edge, stitching along the folded edge of the tape. When you reach the next corner, repeat the previous steps.
If you want to see a detailed tutorial on bias tape, check out this blog post by our sister brand Closet Core Patterns.
Step 5: Assemble Front and Gusset Pieces
With the right sides together, align the short edges of the gusset to the front piece.
Sew the gusset to the front piece. Finish the exposed edges with bias tape. Starting at the top on one side, leave ½ of bias tape free. Sew your first pass down to the base and up to the other side.
Then right side together, sew the top edge of the bias tape as close as possible to the edge of the gusset.
Trim and fold over the tape. Repeat for the other side.
Sew your second pass.
Step 5: Final Touches
Sew on your chosen closure – whether a snap closure, buttonhole, or string button.
Step 6: Admire Your Laptop Sleeve!
Congratulations! You've just made a beautiful cover for your laptop baby. Slide your computer in, secure the closure, and enjoy your #CoreLaptopSleeve!