Ready to sew your new favourite knit dress? We are so excited to introduce you to our first free garment pattern, the Brise Knit Dress! Available in sizes XXS-6X and designed for knit fabrics, Brise is a short sleeved stunner that ties on the left side and comes in two fabulous lengths: a chic long midi with side slits and a super cute short mid-thigh option. (You can see the rest of our free patterns here!)
Brise features a bit of drafting magic; the unique all-in-one-piece construction of the front waist tie makes this dress a total standout. It might look a little wild on paper, but trust us—it’s going to look amazing when you sew it up and we can't wait to see what you make (be sure to use #CoreBrise so we can find you!)
Download Free Pattern
(If you don't see the box above, please authorize this page on your popup blocker.)
Brise Size Chart
The Brise Knit Dress is designed for stretch fabrics and meant to be worn tied. While the finished measurements show some positive ease at the waist, keep in mind that the tie can bring the dress in for a closer fit—so be sure to check our size chart carefully. Sizes XXS–XL are drafted for a B cup, and sizes 1X–6X are drafted for a D cup.
Brise Finished Measurements
Fabric Choices for your Brise Knit Dress
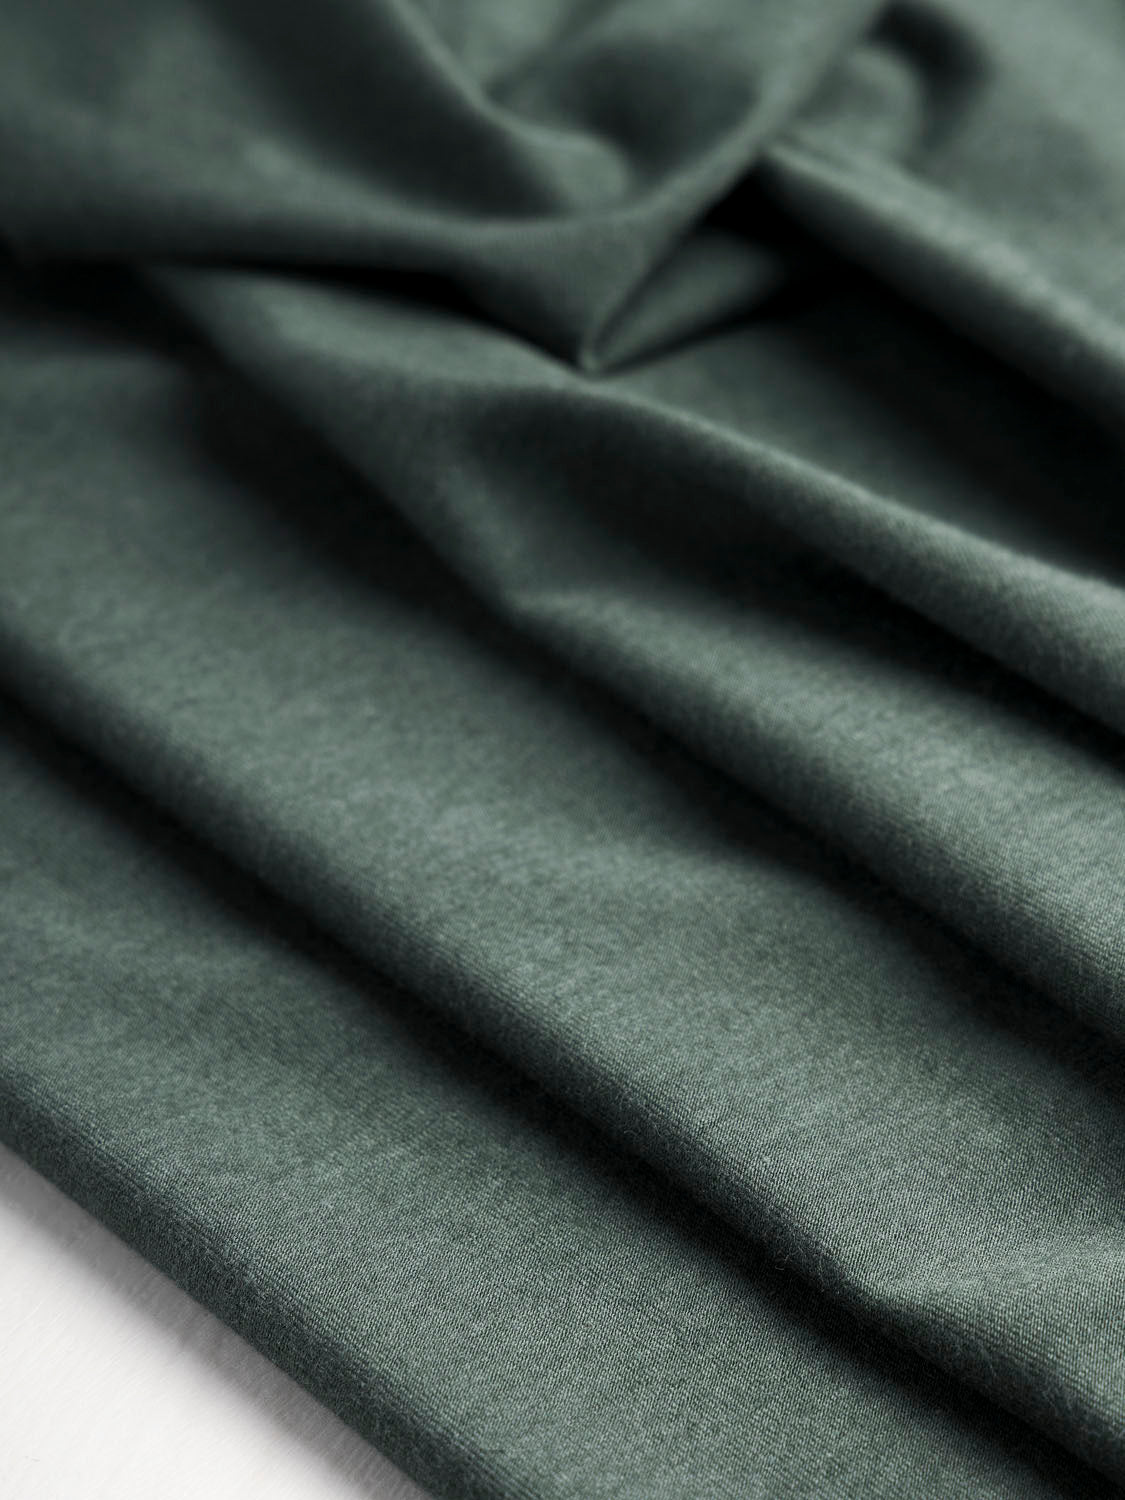
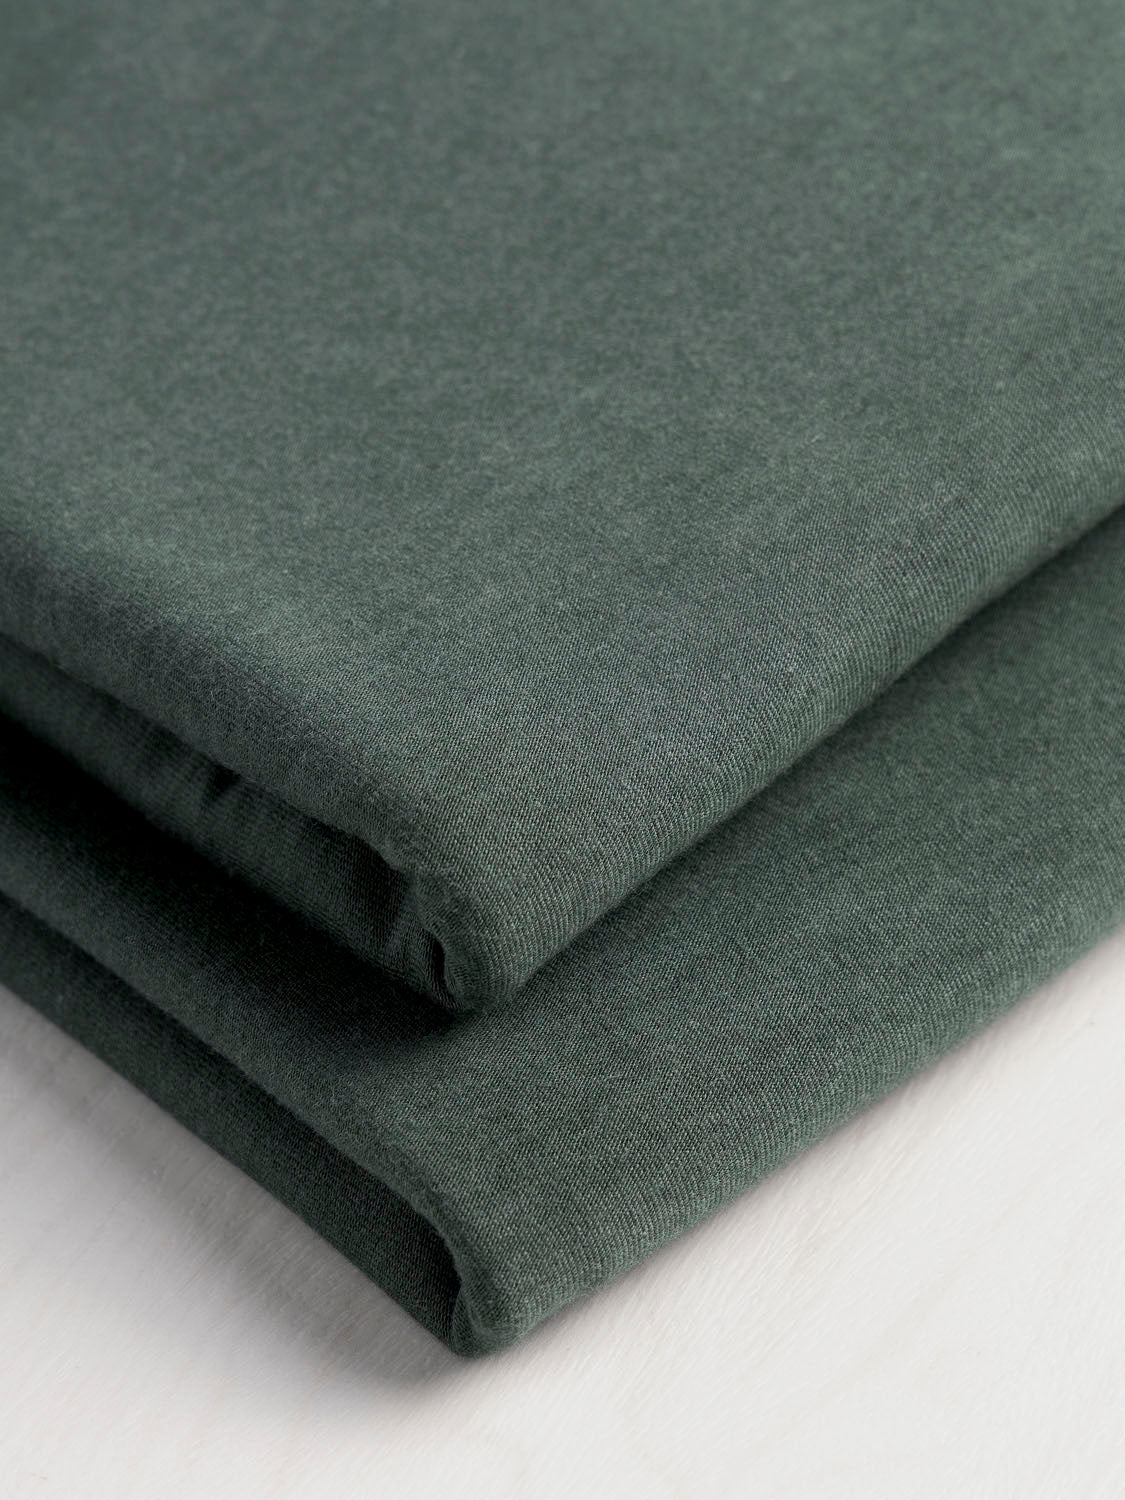
For this project, we recommend midweight stretch knits that provide a beautiful drape, excellent recovery, and at least 50% crosswise stretch. Since the pattern has negative ease, jersey spandex knits in cotton, viscose, and bamboo blends are your best bet. Explore our Brise Knit Dress collection, where we've curated the perfect fabrics to bring this pattern to life.
Note: We recommend you avoid using prints with strong directional patterns, such as stripes, as the front bodice is not cut on the grain and may result in an uneven appearance.
For our samples, we've used:
Drapey Tencel Modal Stretch Jersey in Bordeaux and Lyons Blue
Organic Cotton + Tencel Stretch Knit Jersey in Pine and Black
Tips for Sewing With Knits
If you don’t have a serger or coverstitch machine, you can sew this knit pattern entirely on a regular sewing machine using a zigzag or a lightning stitch. A walking foot is beneficial as it helps feed the top and bottom layers of fabric evenly through your machine.
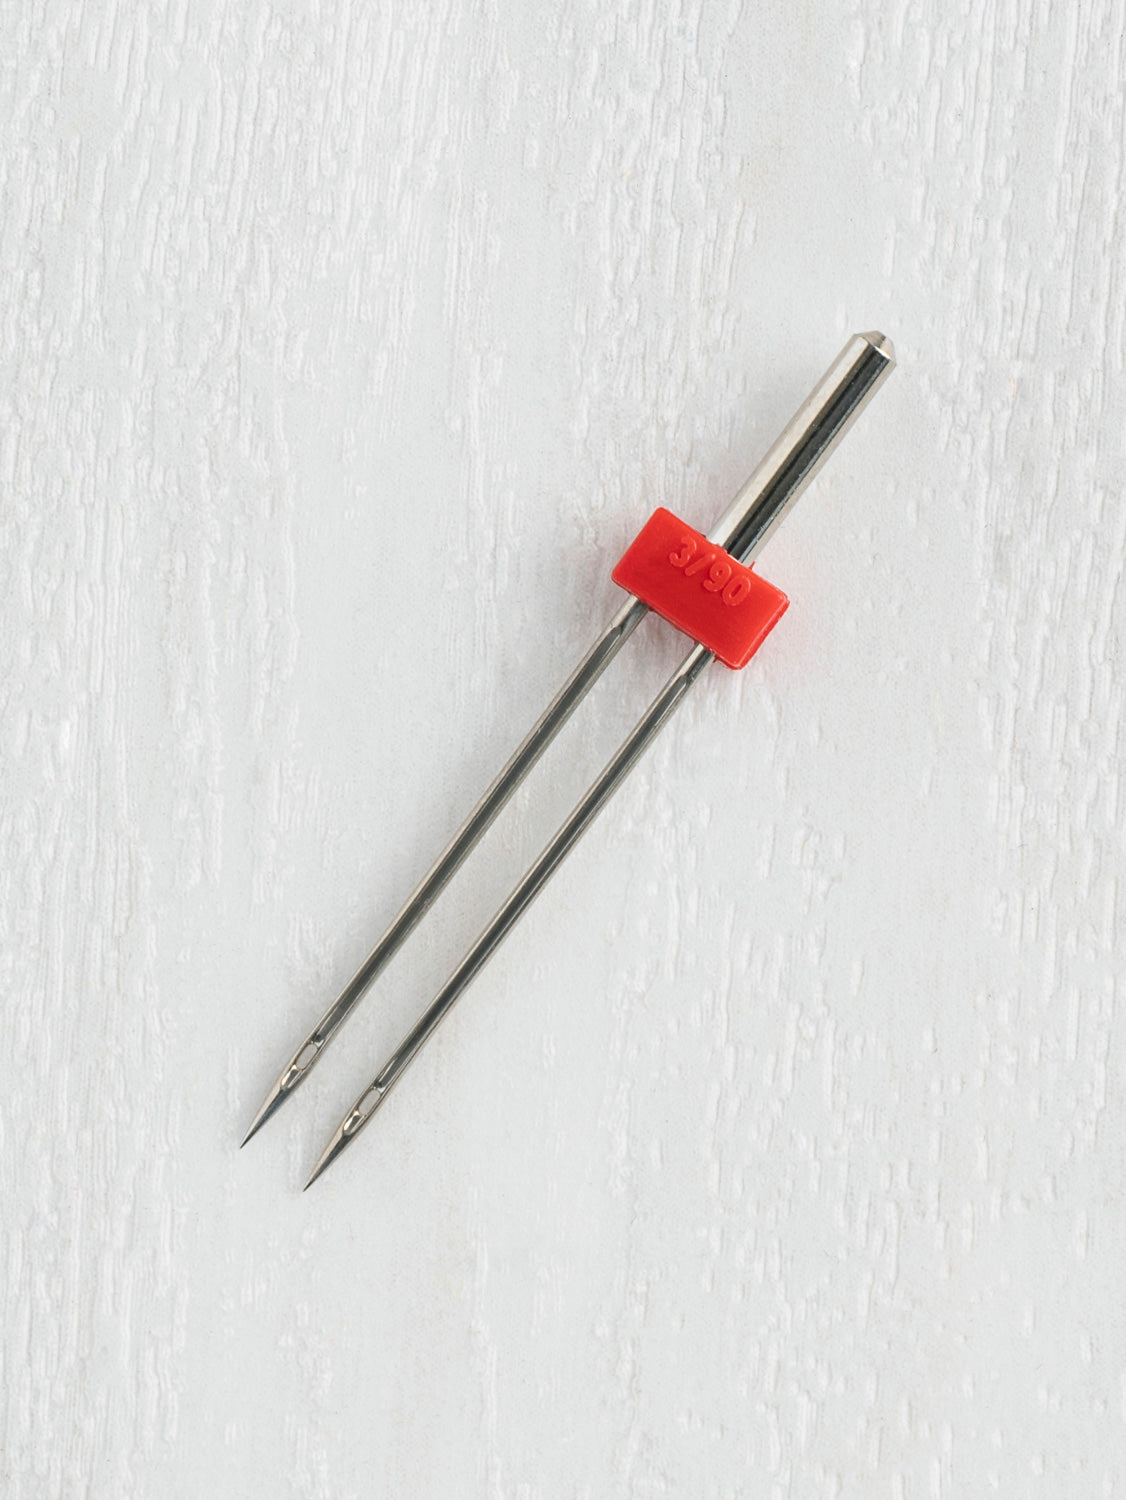
For a professional-looking hem without a coverstitch machine, use a double needle. Ensure the double needle’s width is no wider than the opening on your sewing machine’s regular foot, and do not change the needle position to avoid breaking the needle. Follow your machine’s instruction manual to properly thread the two needle threads.
Check out the chart below for our stitch recommendations and machine settings when sewing knits on a regular sewing machine:
You Will Need
PDF pattern printed in your chosen size (refer to size chart above)
Stretch knit fabric (see yardage requirement below)
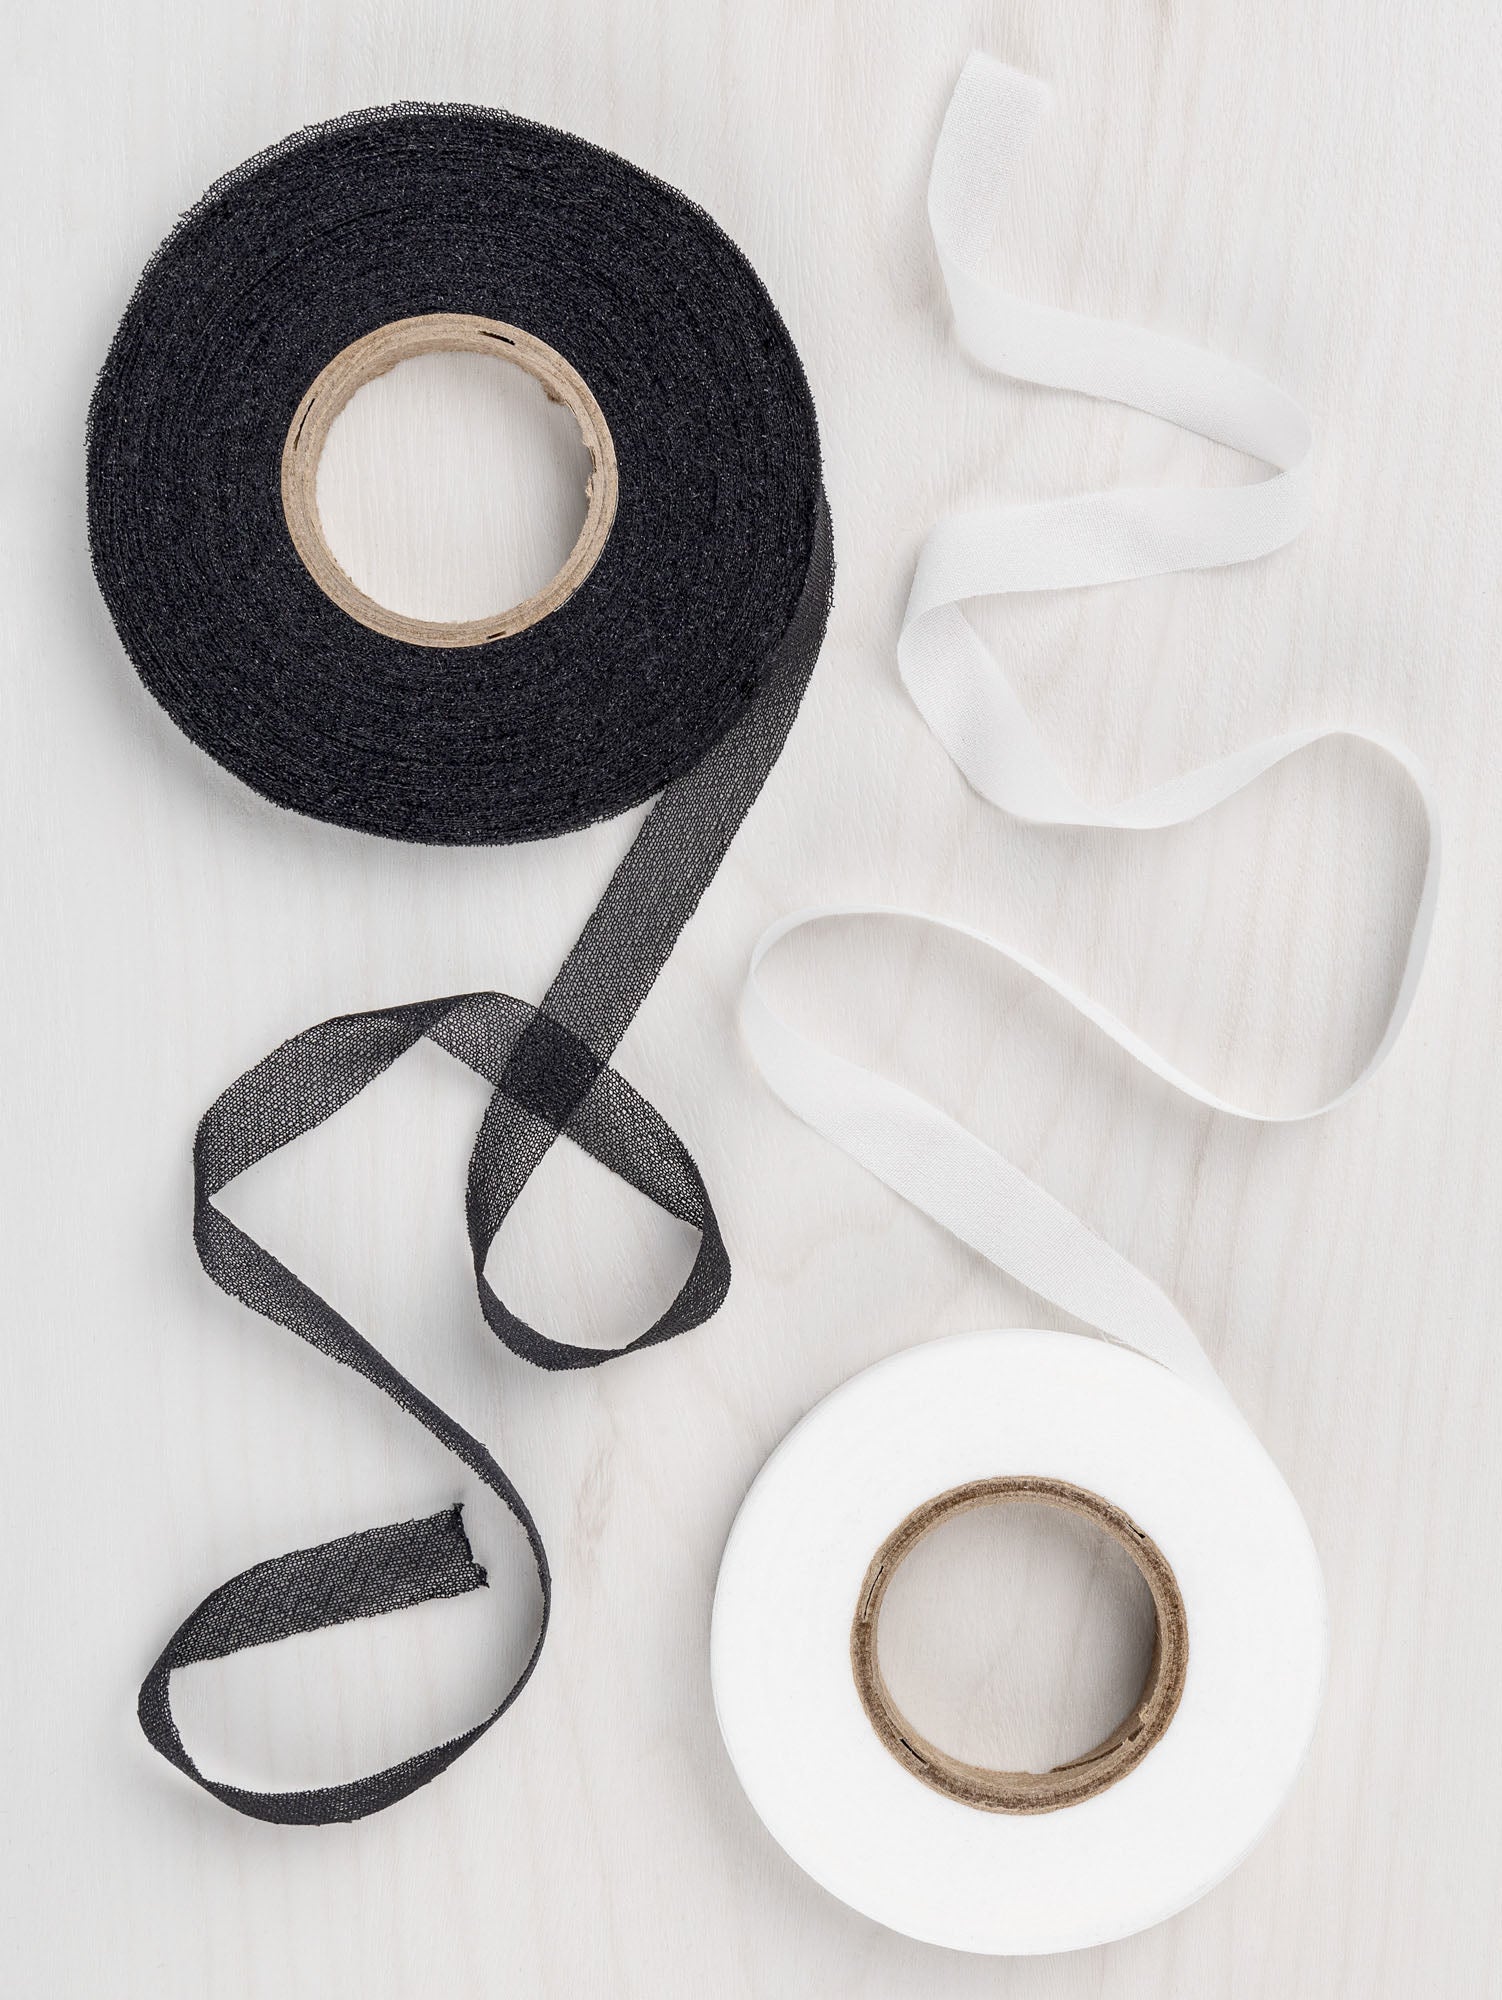
1/2" (13mm) fusible knit stay tape or strips of fusible knit interfacing (Note that if you want the stay tape to be fully invisible on the wrong side of the slit, you will need to trim it to 3/8" (10mm)
If you prefer following along by video, we have filmed the entire process! Otherwise check out our step-by-step instructions below.
Step 1: Gather Your Tools and Prepare Materials
Begin by gathering all necessary materials and pattern pieces. Note that seam allowances are 3/8" (10mm).
Carefully cut your fabric using the provided pattern pieces. Transfer all construction marks and notches onto the fabric to ensure accurate assembly.
Step 2: Stabilize the Neckline and Shoulder Seams
Using fusible knit stay tape, interface the wrong side of the neckline, and shoulder seams, of the dress front (A) and dress back (B).
Step 3: Stabilize the Side Slits
Using fusible knit stay tape, interface the wrong sides of the side slits of the dress back and dress front, from the circle to the bottom hem.
Step 4: Sew the Front Piece Sash (A)
On the dress front (A), right sides together, fold the sash lengthwise. Make sure to align the notches located above and under the sash.
Sew using a serger or lightning stitch.
Turn the sash right side out. Use a point turner to form the corners and press the seam down lightly.
Step 5: Sew the Other Sash (E)
With right sides together, fold the other sash (E) lengthwise and sew along the long edge and the angular short edge.
Turn the sash right side out. Use a point turner to form the corners.
Place the sash on the dress back along the wearer's left side. Right sides together, align the raw edges of the sash with the notches on the waist and sew at 1/4" (6 mm) using a zigzag or serger stitch.
Step 6: Stitch the Shoulder Seams
With right sides together, pin the dress front to the dress back along the shoulder seams.
Stitch each shoulder seam using a serger or lightning stitch.
Press the seam allowance toward the dress back.
Step 7: Attach the Sleeves (C)
With right sides together, match the edges and notches of your sleeve (C) and armscye, aligning the shoulder seam with the sleeve cap mark.
Pin all around.
Sew using either a lightning or serged stitch.
Repeat for the other sleeve.
Step 8: Sew the Side Seams
With right sides together, align and pin the side seams from sleeve hem to the circle, matching notches.
Sew using either a lightning or serged stitch and stop at 1" (25 mm) above the circle. Using a straight stitch, continue sewing from the end of the seam you just sewed to the circle. Backstitch at the end.
Step 9: Finish the Side Slits
Clip the seam allowance above the circle, being careful not to clip your stitches.
Press the seam allowance above the notch towards the back.
On both sides of the slit, fold and press the seam allowance in by 3/8" (10 mm).
Sew close to the edge of the pressed slit using a lightning stitch or coverstitch, starting at the hem all the way to the circle.
Sew across the top of the slit.
Then sew all the way down to the hem. Repeat on the other side.
Step 10: Finish the Sleeve hem
Press the hem under by 1/4" (6 mm) and then again by 1 3/4" (45 mm).
Sew close to the edge of the fold using a zigzag stitch, double needle, or coverstitch.
Roll the sleeve by turning the hem to the right side by 1" (38 mm).
Bar tack stitch under and on top to help maintain the fold. (Add additional bar tack stitches at the front and back) if necessary.
Repeat for the other sleeve.
Step 11: Prepare the Neck Binding (D)
With right sides together, stitch the short ends of the neck binding (D) together to form a circle. If using a regular machine, use a narrow zigzag and press the seam open. If using a serger, press the seam to one side.
Fold and press the binding in half lengthwise, wrong sides together.
Divide the neck binding evenly into quarters. Fold the neck binding in half along the centre back seam and mark the front. Fold again, matching front and back seam to mark each side.
Repeat the process for the dress' neckline. Mark the centre front. Then match centre back with centre front, fold and mark the sides. They should fall slightly off the shoulder seam on the front of the neckline.
Step 12: Sew the Neck Binding
With the binding on the right side of the dress, align the raw edges of the folded binding with the raw edge of the neckline, matching all the markings.
Stitch the binding to the neckline using a lightning or serged stitch at 3/8" (10 mm). Be careful not to stretch your neckline as you sew.
Give the binding a light pressing to help it lay in place.
Turn the binding to the inside of the dress, enclosing the seam allowance. Press and pin the binding into place.
Topstitch in place using a zigzag stitch, double needle, or coverstitch.
Step 13: Finish the Hem
TIP: To help stabilize the hem while sewing, use a fabric glue stick or hem tape.
Press the hem under by 3/4" (19 mm).
Sew close to the edge of the seam using a zigzag stitch, double needle, or coverstitch.
And that's a wrap! You've just finished your Brise Knit Dress! Slip it on, tie it up, and style it your way—elevate it with heels or keep it casual with your favourite sneakers. This versatile little dress is ready to go wherever life takes you!
Don't forget to share your #CoreBrise moments on Instagram!
Emmanuelle
Emmanuelle is in charge of our marketing department and is voice behind our product descriptions, newsletters, videos, social posts, and blog. If there’s a textile pun to be made, she’ll find it.